Hello and welcome back....
I have a really cute project to share with you today, It's using the NEW In Colours for 2016 - 2018 and its just so much fun....
I originally saw this on Pinterest, but hadn't gotten around to making it, but when I saw the New In Colours I thought what a great way to show them all together.
I love these cute little Train Carriages and they were not that hard to make.
First you make a little box, I used a piece that was 4 1/4" x 2 1/2".
On the 4 1/4" sided score at 1 1/8" and 3 1/8", on the 2 1/2" side score at 1/2" and 2".
The sides of the carriage are cut using a frame from the Chalk Talk Framelits (now retired but the Tags and Labels Framelits would work just as well). You stick one either side of the box piece.
The wheels are made using the 3/4" circle Punch and the 1/2" circle Punch, layered and then added to the sides using dimensionals.
The circles on the sides are the 1 3/8" and 1 1/4" circle punches and I stamped the tiny butterfly from the stamp set Grateful Bunch on to the 1 1/4" circle before adding it to the carriage with dimensionals.
I used the Word Window punch to make the hitch front and back so that I could attach all the carriages together using brads.
Product List

Chalk Talk Framelits Die
[129983]
£22.00

Window Word Punch
[119857]
£14.50
I hope you like today's project, thanks for stopping by...
Happy Crafting X
Hello and welcome back...
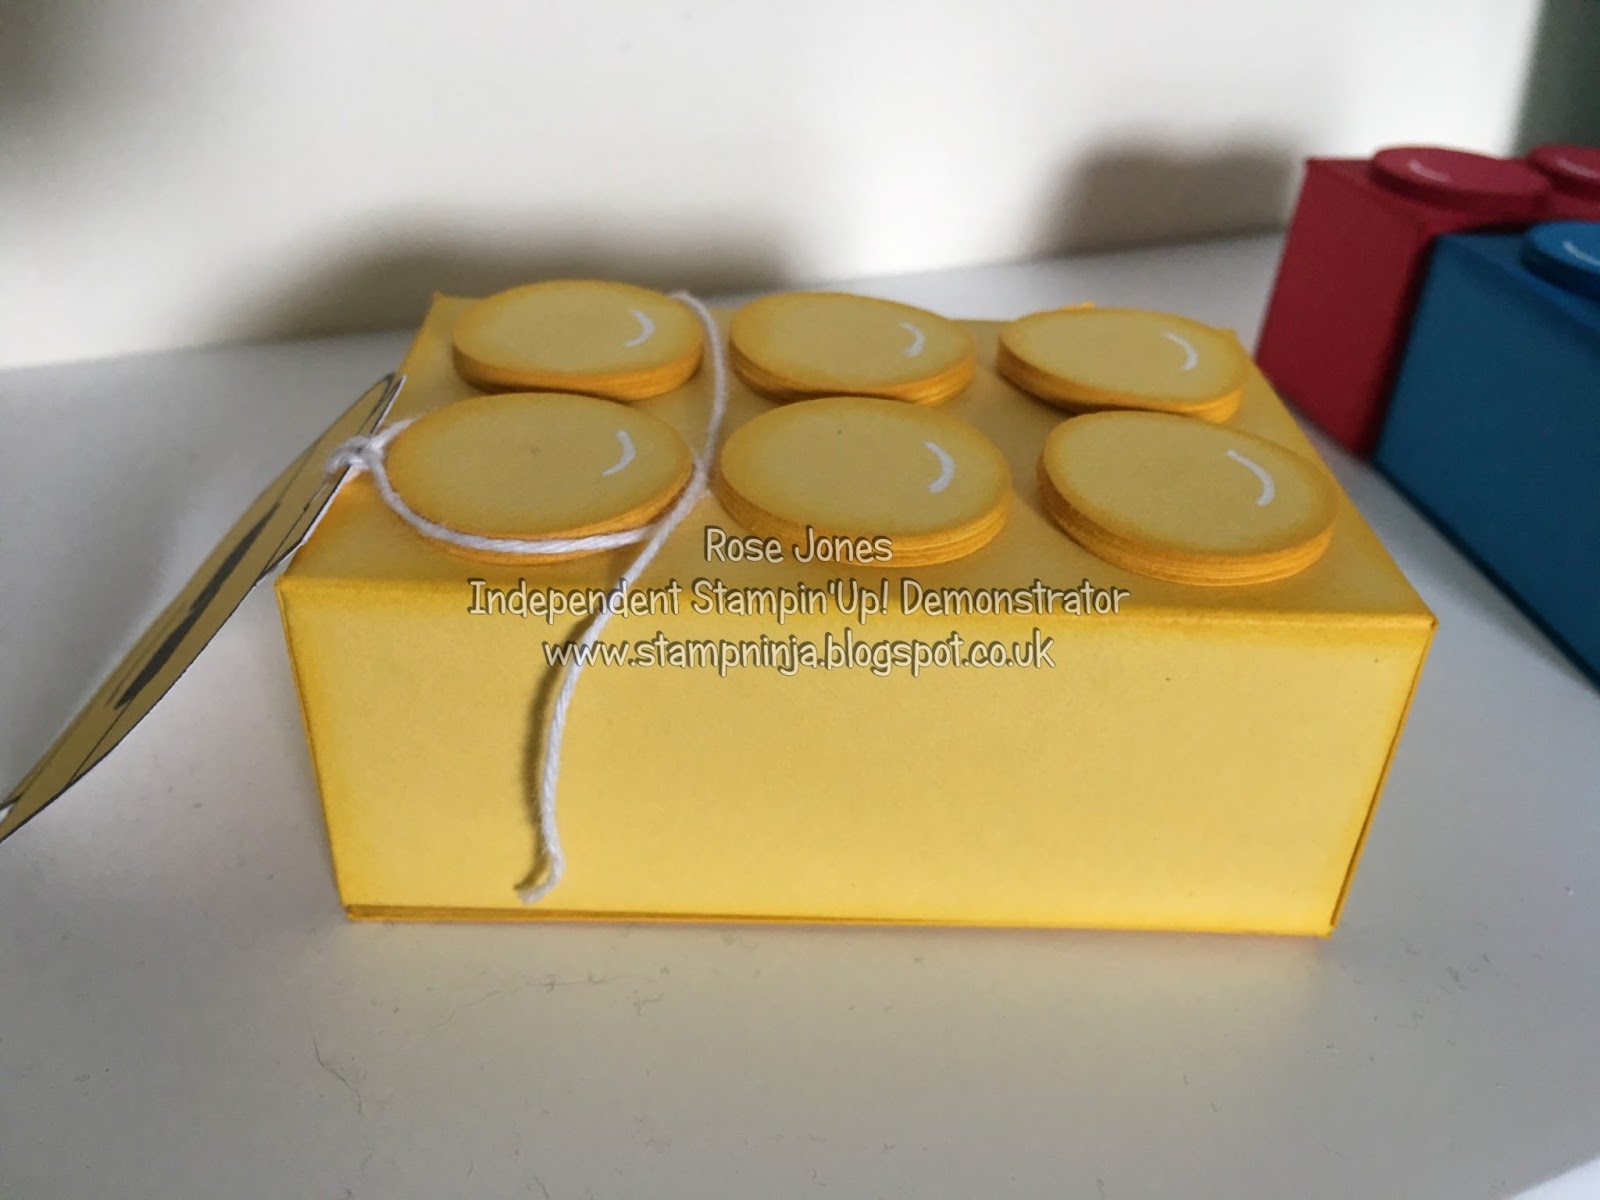
We are on day 5 of Love Lego week, and today I have some really cute Lego Brick Treat Boxes to share with you.
Don't they look great, just like real Lego bricks, the small 2 x 1 brick is big enough to hold one Lego mini figure (possibly two) and the large 2 x 3 brick can hold several mini figures or a small Lego car.
The bricks are a basic box (instructions and dimensions in Tutorials above) with Punched circles on top, I layered 6 1" circles on top of each other to make each knobbly bit. I sponged around each knobbly bit before sticking them to the box then I sponged around the edges of the boxes.
I added some white highlights using a white gel pen.
The perfect size to hold one mini figure..
Great to use as Party Favors or even prizes... Check out Ebay for job lots of mini figures, you can usually get then really cheap)
I finished them off by adding some Lego Head tags with Thank You on the back.
Product List
I hope you like, thanks for stopping by...
Happy Crafting X
Hello and welcome back.
To the last day of Pyramid Pals/Playful Pals, there is so much you can do with this amazing bundle, its hard to stop, so today I am sharing both a Pyramid box and a matching card.
Aren't these little Penguins just adorable, the are just so easy to make along with their matching cards.
I used the pre-scored Note Cards and envelopes, you get 20 in a pack so you can make up a whole bunch of them. I used the dies to cut out the triangle body, white front, wings or flippers,feet, beak and eyes. I stuck them all together before putting him on the card with dimensionals.
I used the Balloon Celebration stamp set to stamp the balloon, one in Tempting Turquoise and Pacific Point and the other in Melon Mambo and Real Red. I then punched them out using the matching Punch. I stuck it on the card using dimensionals.
The Happy Birthday is from the Tin Of Cards stamp set, I really love these particular stamps.
The same card just with a different colour balloon.
The cute little treat boxes are awesome and really easy to make, just cut out two box pieces from Basic Black card and stick them together. Them cut out the flippers, feet, beak and white front using the dies in the set, stick them onto the Pyramid box.
Stamp the eyes onto Whisper White card and cut them out with the die in the set and stick them onto the box....ta daa..all done.
This has been such a fun bundle to create with, I can see me reaching for it time and again..
Product List
I hope you have enjoyed this weeks projects, thanks for stopping by...
Happy Crafting X