Showing posts with label Halloween. Show all posts

Saturday, 31 October 2015

HAPPY HALLOWEEN

Happy Halloween Everyone....


I made some Halloween Cupcakes for my children (17 & 20) lol, they both still like Halloween.....

 
Monster cakes, with green icing and spooky sprinkles, and white icing teeth...

 
 Pumpkin cakes with orange icing, ghost and bat spooky sprinkles.... yum

 
These are some of the Trick or Treat goodie bags I made for the little visitors tonight, hope I get lots....
 
I made fry boxes using the Fry Box Die and the Happy Haunting Designer Series Paper and also a few Bat Boxes and some Pumpkin Boxes.


Hope you have a great Halloween, thanks for stopping by...
Happy Crafting X

Friday, 23 October 2015

Peek A Boo Halloween

Hello and welcome back...

I have another Halloween Card to share with you today, it features the stamp set Howl-O-Ween Treat, this set has a matching set of Framelits Dies called Boo To You and if you buy them together as a bundle you can save 15% off the regular price....Woo Hoo...


To make the card take a piece of A4 Crumb Cake card and cut it length ways at 10 1/2 cms. Fold the card in half and then fold the front back on itself.


The front 1/4 you put in the Woodland Embossing Folder and put through the Big Shot, then you gently brayer Soft Suede Ink over the trees and stamp the little spider hanging from a branch.

 
Stamp Trick or Treat in Rich Razzleberry on a piece of Whisper White Card then using the circle framelits dies choose the circle closest to the size of the sentiment and cut it out. Then cut out a circle of Pumpkin Pie to mat under it...

 
Stamp the owl and pumpkin on to a piece of white card and cut out using the Boo to You Framelits, at the same time cut out a Boo from Rich Razzleberry card as well. Stick the circle to the front of the card as above and the owl to the inside making sure when the card is closed that he peeks out from behind the circle.

 
Stick the Boo to the inside of the card as shown and add some spiders as you wish...

 
Finally add the pumpkin to the circle lining it up so that when the card is closed it looks like the owl is holding the pumpkin....


Thank You to Tammi White for this card, check out her blog there is a link on the side bar of this blog....
To order any of the supplies for this card just click on the pictures below and it will take you to my on-line shop, plus if you use the Hostess code at the top of this blog you will also receive something extra from me.....


Thanks for stopping by....
Happy Crafting X

Thursday, 22 October 2015

Woodland Halloween

Hi there and welcome back...

I am loving today's card, its a Halloween card and it features the Among the Branches Stamp Set and the fabby Woodland Embossing folder...The colours are so rich its beautiful...

 
The colours used on this card are Cherry Cobbler, Pumpkin Pie, Crushed Curry, Soft Suede and Basic Black.


The background is brayered first in Crushed Curry the whole length of the Whisper White Card front, then Pumpkin Pie is brayered two thirds down and lastly Cherry Cobbler is brayered over the top third.

 
The card is then put in the Woodland Embossing folder and then put through the big shot. Then Soft Suede is brayered gently over the trees, and the owl and crows stamped in Basic Black so that they are sitting on the branches. Oh and some spooky eyes here and there....

 
The Happy Halloween is from the And Many More Stamp Set and has been stamped in Basic Black and punched out with the Word Window Punch. I punched a black word window and offset it behind the Happy Halloween.


I hope you like today's card, thanks for stopping by....
Happy Crafting X

Wednesday, 21 October 2015

Curvy Keepsake Wednesday

Hello and welcome back to another Curvy Keepsake Wednesday....

This week I am keeping with the Halloween theme (not long to go now!) and I have created some little bat boxes....soooo cute...

 
 This one is so easy as it doesn't have many parts to it.

 
You will need to cut two Curvy Keepsake components for each box out of Basic Black card stock.

Assemble the boxes. Then punch out two 1" circles and two 1/4" circles out of Whisper White Card, and two 1/2" circles out of Basic Black Card for the eyes. You can assemble them as you wish...

 
Put them on the box with dimensionals...


The wings I drew freehand and then used it as a template to do all the wings, these were then stuck to the sides of the box.

 
Trick or Treat anyone!!


I hope you like this weeks box, thanks for stopping by....
Happy Crafting X

Wednesday, 14 October 2015

Curvy Keepsake Wednesday.

Hello and welcome back to another Curvy Keepsake Wednesday....

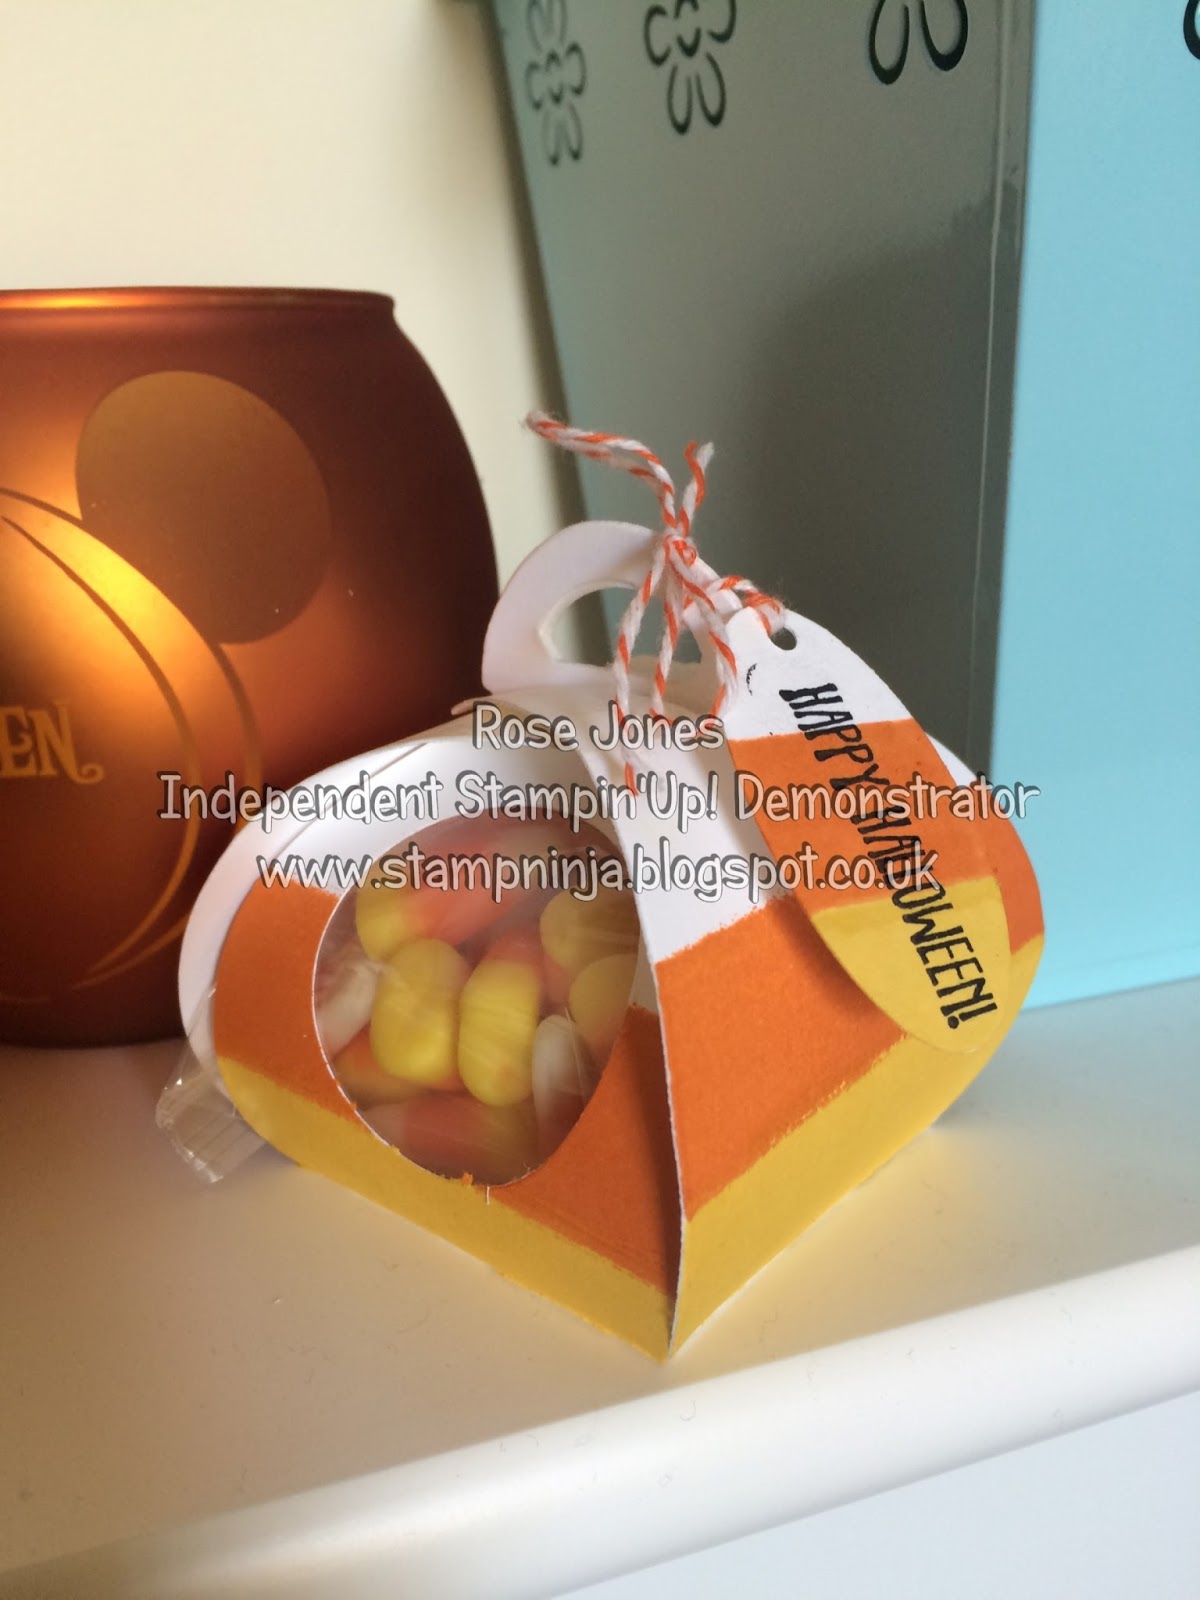
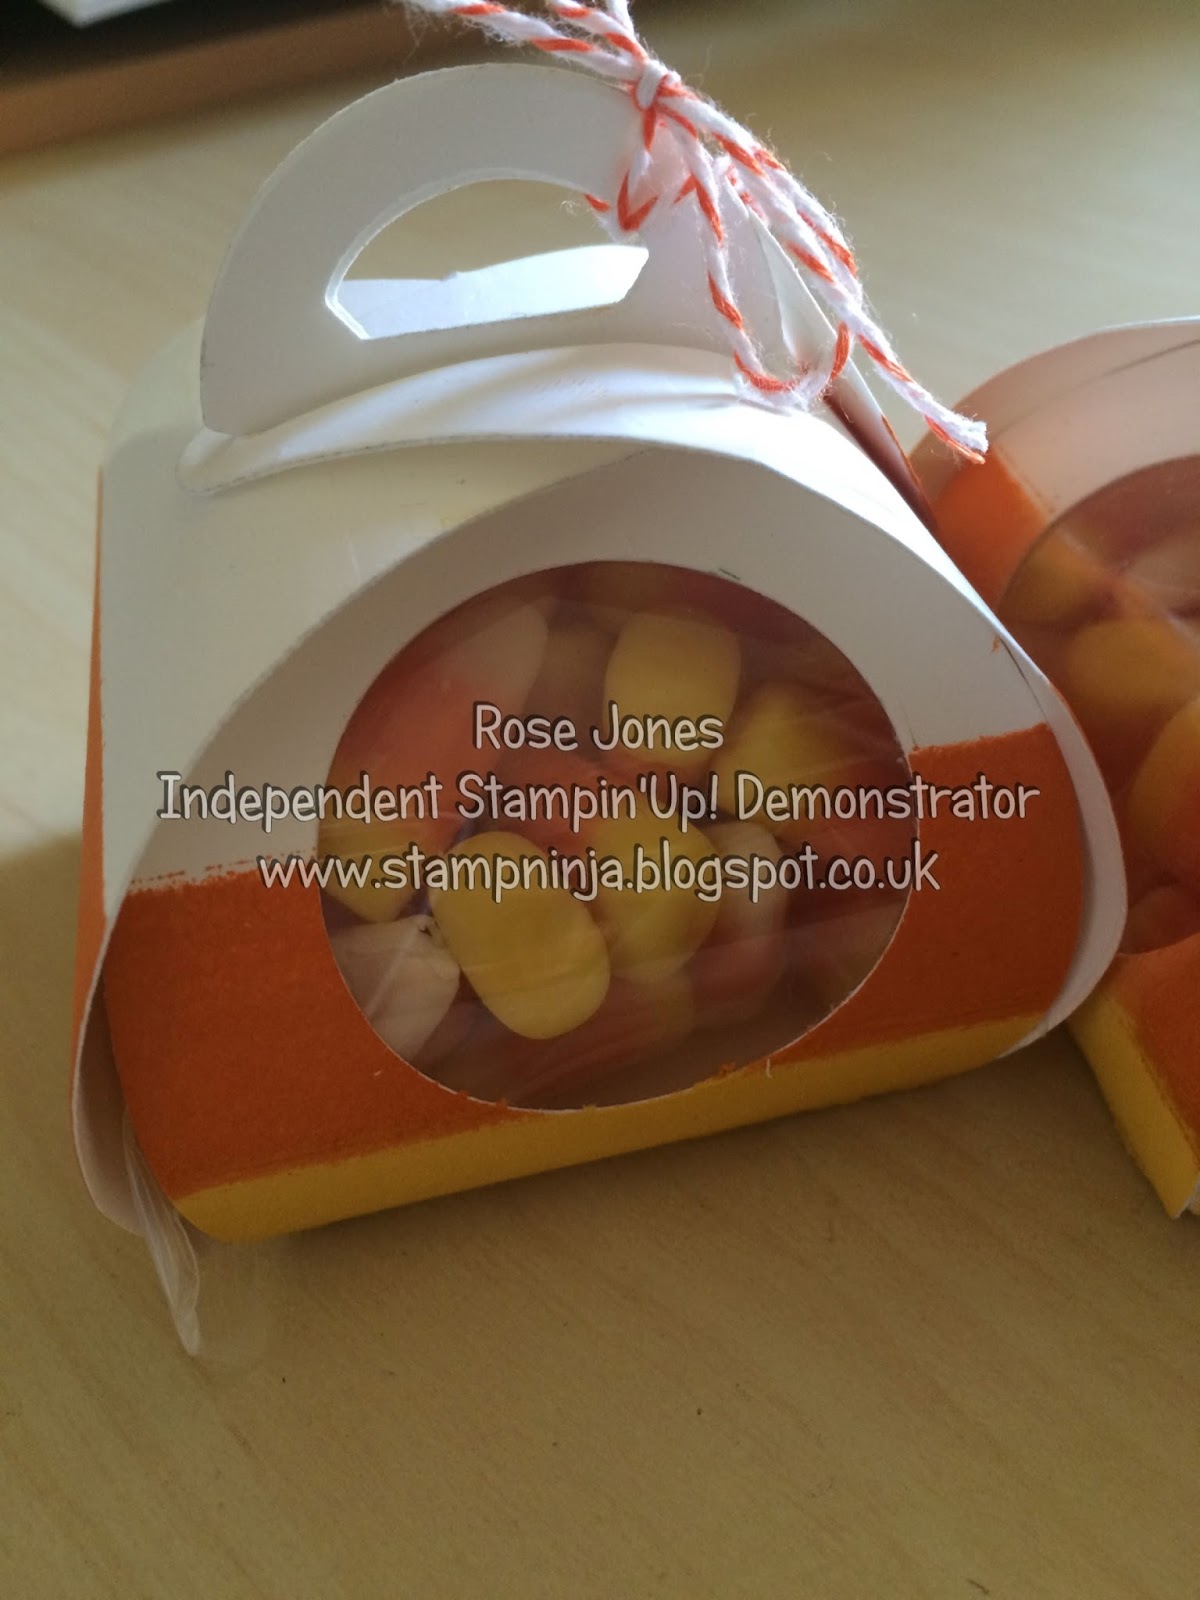
This weeks box has got to be my favourite as its a Candy Corn box filled with....yes you guessed it Candy Corn.....yummy!!!


So I started off by cutting the components for the Curvy Keepsake Box out of Thick Whisper White Card, then I masked off each area in turn so I could colour the sides Daffodil Delight, Pumpkin Pie and White.

 
I used my brayer to colour the sides but you could use your Stampin'Write markers to do the same thing which is how I did the tags...

 
I created a little window using the 1 1/2" circle punch and stuck a 2" circle of acetate behind it....so you can see the yummy candy corn inside...

 
The tag is the small oval punch coloured with markers and stamped with Happy Halloween from the And Many More Stamp Set.


I think they came out rather well, roll on Halloween...lol.


I hope you like this weeks Curvy Keepsake Box, thanks for stopping by....
Happy Crafting X

Tuesday, 13 October 2015

Spooky Halloween Owl Treat Bags

Hey there, welcome back...

I have some super spooky Halloween Owl Treat bags to share with you today...

 
This is the large bag that you can make with the Gift Bag Punch Board. I started off with a piece of Basic Black Card stock 12" x 6", then I lined it up with the start line on the board and punched and scored on the L line. It's so easy the instructions are on the board so you can't lose them and it has its own scoring tool so as long as you put it back when you have finished you won't lose that either....

 
The owl eyes are 2" Black, 1 1/2" Orange and 3/4" Black Circles layered as above...

 
The feathers are the small oval punch and more Basic black card...The beak is a triangle of black card going from the top of the bag to approx. the middle, with a tiny triangle of orange card on the very tip.

 
Inside I have filled a cello bag with M&Ms and tied it with some black ribbon.

 
I then took a piece of tissue paper and loosely wrapped the cello bag and popped it in the gift bag.
 
Then I used the Halloween stamp from the Stamp Set And Many More and stamped it in black on some Whisper White Card. I cut it out using the Word Window Punch and then mounted it on a black oval. I used a tiny bulldog clip to attach it to the gift bag...

 
And voila two super spooky Halloween Gift Bags....


I hope you like today's project, pop back tomorrow for another Curvy Keepsake Wednesday.....
Thanks for stopping by....
Happy Crafting X

Wednesday, 7 October 2015

Curvy Keepsake Wednesday

Hello and welcome back to another Curvy Keepsake Wednesday...

Wow doesn't the week fly by... This weeks Curvy Keepsake Box is another Halloween box, I think he's supposed to be scary but he just doesn't seem to pull it off.. he's just so darn cute...
So this is Frankie...

 
I started off by cutting out two Curvy Keepsake Box components and before I stuck them together I daubed around he edges with Chocolate Chip ink.

 
The eyes are made with two 3/4" White Circles and a Wild Wasabi 3/4" Circle cut in half and two Black 1/2" Circles.

 
When you cut out you box components you will end up will some pieces that you have to poke out, a long thin piece and a small ovalish shape, you will use this for the nose.


The mouth I drew on with a Basic Black Stampin'Write marker along with the scars on his head.
 
His hair I drew freehand and cut out...


Then I made some cute little bolts for his neck, I used two Smoky Slate 1/2" circles stuck together and two Basic Grey 3/4" circles stuck together and trimmed to look like a nut, and then attached to his neck with dimensionals...


I think the kiddies are going to love these, especially filled with treats....


I hope you like this weeks box, thanks for stopping by....
Happy Crafting X

Wednesday, 30 September 2015

Curvy Keepsake Wednesday

Hi there and welcome back to another Curvy Keepsake Wednesday...

We are still on the Halloween theme as its nearly October and we need to be prepared...
So today's Curvy Keepsake Box is a really cute (or should that be scary!!) Jack O Lantern, pumpkin carving is getting to be quite popular in the UK now as you may have seen from last years October 31st post, so I thought I would create one using the Curvy Keepsake Box....

Inside is a battery Tea Light...


You can see it a little better here where its darker..


I could only find one battery tealight even though I know I have more....but where!!!!!


Anyway back to the box.. I cut out the box as normal but before putting it together I cut out the scary face and then I stamped the box pieces with the Hardwood Stamp and Pumpkin Pie ink. Then using the 2" Circle Punch I punched out two circles of Vellum and stuck them behind the face. Then I assembled the box and popped a tea light inside.


I made a little tag using some leaves I cut out with the Leaflets Framelits and an Oval stamped first with the Hardwood Stamp and the with Happy Halloween from the And Many More Stamp Set.


I attached them all together with some Bakers Twine and attached it to the box with a tiny peg which I had coloured with a Pumpkin Pie Stampin' Write Marker.


They look so good with their little lights inside, ( must find lost Tea Lights or go buy some more!!!)


So I hope you like today's box, thanks for stopping by......
Happy Crafting X