Showing posts with label Christmas Cards. Show all posts

Friday, 11 December 2015

Santa's Gifts Slider Box Card

Hello and welcome back......

Today I have some more Slider Box Cards to share with you, these are a cute 3" x 3" x 1" deep and I have used the Stamp set Santa's Gifts to decorate them....

 
They are the perfect size for chocolate, (these fit 12 Hersheys Nuggets perfectly), or if you don't want to put Chocolate in then they will fit lots of other things like jewellery, make up, even a pair of socks...lol.

 
I know I have said it loads before but I do love this stamp set, I masked off the bottom part of the card and brayered the top part with Soft Sky ink, then using the trees from the stamp set Wonderland I stamped a few trees in the background with Garden Green ink. I used my White Gel pen to add some snow to the trees and the sky.

 
Inside is a layer of Very Vanilla ( 2 3/4" x 2 3/4" ) which I have stamped Merry Christmas in Real Red, this sentiment is from the stamp set Flurry of Wishes.

 
The card box dimensions are 3" x 12" and scored at 3", 4", 7", 8" and 11" along the long side. The box inner is 4 7/8" x 4 7/8" and scored at 1" on all sides.

 
This one is filled with yummy chocolates....


These boxes are the same width but half the height of the last slider box I made and are really cute, they would be great as teacher gifts or as a little gift for a child to give friends.


I hope you enjoyed, thanks for stopping by.......
Happy Crafting X

Thursday, 10 December 2015

Snow Place Gift Card Holder

Hello and welcome back....

Today I have a fantastic Gift Card Holder to share with you, my up line Michelle Last  shared this with us and I think it is really clever...

 
It helps that I love this stamp set, Snow Place, a definite keeper for me. To make you will need a piece of A4 card, we used Real Red card, then line the short side up at 14.9cm and cut off the rest. Then score at 14.9cm (middle) along the long side and then 10.5cm in from each side.

 
You will end up with a little mountain in the middle, holding this bit together take the Decorative Label Punch and punch through the two layers of card, as per the picture. This is the slot the gift  card will go in, you will need to stick the mountain bit together but not the slot area.
 
 
Then you can decorate it as you wish. Note before you stick the front panel on you need to put ribbon through behind it so you can tie the card closed.

 
Here we used a mat of Soft Sky and then a mat of Whisper White ( which has been put through the Softly Falling Embossing Folder). The Penguin has been stamped in Basic Black and cut out and mounted on a circle of white and Soft Sky and Real Red. Pom Poms have been added to the ear muffs and his feet and beak coloured orange.

All the product used have  been listed below, just click on a product to go to my on line store to order.


Hope you like, thanks for stopping by.....
Happy Crafting X

Tuesday, 8 December 2015

Cute Rudolf Slider Box with card.

Hello and welcome back...

Today's project is a Slider Box with a card and on the front is a cute Paper Piecing Reindeer.... and he is so adorable...yes I know I always say that...but he is.

 
The card and box are all in one, the front of the card is 3" x 6" and it is 1" deep.
The sleeve is 6" x 12" and is scored at 3", 4", 7", 8" and 11". The box tray is 4 7/8" x 7 7/8" and scored at 1" on all sides.

 
I cut Rudolf out on my Silhouette Cameo, using Choc Chip, Soft Suede, Crumb Cake, Garden Green and for his nose Red Foil Card. All pieces are sponged before assembly and I used the White Gel Pen to do highlights.

 
I masked off the bottom of the card front and brayered Soft Sky Ink over the top part, then I stamped the trees from the Wonderland Stamp Set and added some snow using the White Gel Pen. Then I stamped Merry Christmas at the bottom of the card front in Real Red.


I put a piece of Very Vanilla on the inside of the card and stamped another sentiment from the Flurry of Wishes Stamp Set.... love this its so pretty.

 
Inside you could put Chocolates ( I managed to get 24 Hersheys Nuggets inside) its quite big, or you could put in some Jewellery instead.

 
It makes such a fun gift with card included.

 
I have listed all the products used to make this below, if you would like to order just click on the picture to be taken to my online store...Please note only orders received on or before December 13th can be guaranteed to be delivered by Christmas.... So get your orders in now!


Hope you like, thanks for stopping by....
Happy Crafting X

Monday, 7 December 2015

Snow Pals Sleigh Ride

Hello and welcome back.....

I don't know about you, but I have phases of doing things, and at the moment I am in my Paper Piecing Phase again!!!  Paper Piecing is a little more time consuming but I think well worth the effort. The card I am sharing today is an A5 card and features some cute little friends out in their sleigh. And aren't they just adorable.....


The base card is Chocolate Chip with a mat of Very Vanilla, I masked off the bottom half of the card and then brayered Soft Sky over the top half of the card. Then using the gorgeous trees from the Wonderland stamp Set I stamped some trees in Garden Green and then removed the mask.

 
The Merry Christmas is from the Sassy Salutations Stamp Set, I stamped it in versamark and then added Gold embossing powder.

 
I added snow to the background using my White Gel Pen, I also used it to add some snow to the trees.

 
I cut out all the pieces for the Paper Piecing on my Silhouette Cameo, I used Choc Chip, Garden Green and Pacific Point for the sleigh, plus a little Gold Paper for the star. The mouse is Crumb Cake and Sahara Sand and the snow bear is Whisper White card stock.

 
Rudolf is Choc Chip, Soft Suede and Crumb Cake, with some Pacific Point for his scarf. The flowers on the wreath are from the Wondrous Wreath Stamp Set and are stamped in Real Red with gold dots in the middle. I used Real Red Card for his nose then added some Crystal Effects to make his nose shine. All pieces have been inked around the edges before assembly.

 
This was such a fun card to make, I just love these adorable little critters......... I have also used a NEW product from the Spring/Summer catalogue, its a glitter brush pen, its really great for fine detail or for large areas that you want to give a little glitter to. Available from January 5th.... pre order your catalogue from me now....


Thanks for stopping by....
Happy Crafting X

Thursday, 3 December 2015

Santa Hugs Christmas Cards

Hello and welcome back...

I loved the cute tags I made on Tuesday so decided to make some Christmas cards....

 
So I used a Thick Whisper White card base, then I cut a piece of Whisper White card to mat on top. I used the Curvy Corner Trio Punch to shape the top and the corner punch to shape the bottom.

 
Then I brayered Soft sky over the top of the card, I created a mask by stamping the trees from the Happy Scenes stamp set on to some sticky paper and cutting along the ground. I attached this to the bottom of the card before I brayered.

 
I then stamped the trees where the sky meets the ground which is now the perfect shape, I used the white Gel pen to add some snow to the trees and to the sky. I also drew along the ground and under the trees.

 
I stamped and cut out the figures and coloured them with a blender pen and ink pads and added some glitter here and there.

 
They are so adorable, I just love these cute figures.

 
And there we have it, some super cute Christmas cards...

I have listed everything I used to make these cards below, just click on a product to go to my on-line store...Thank you.


I hope you like, thanks for stopping by.....
Happy Crafting X

Friday, 27 November 2015

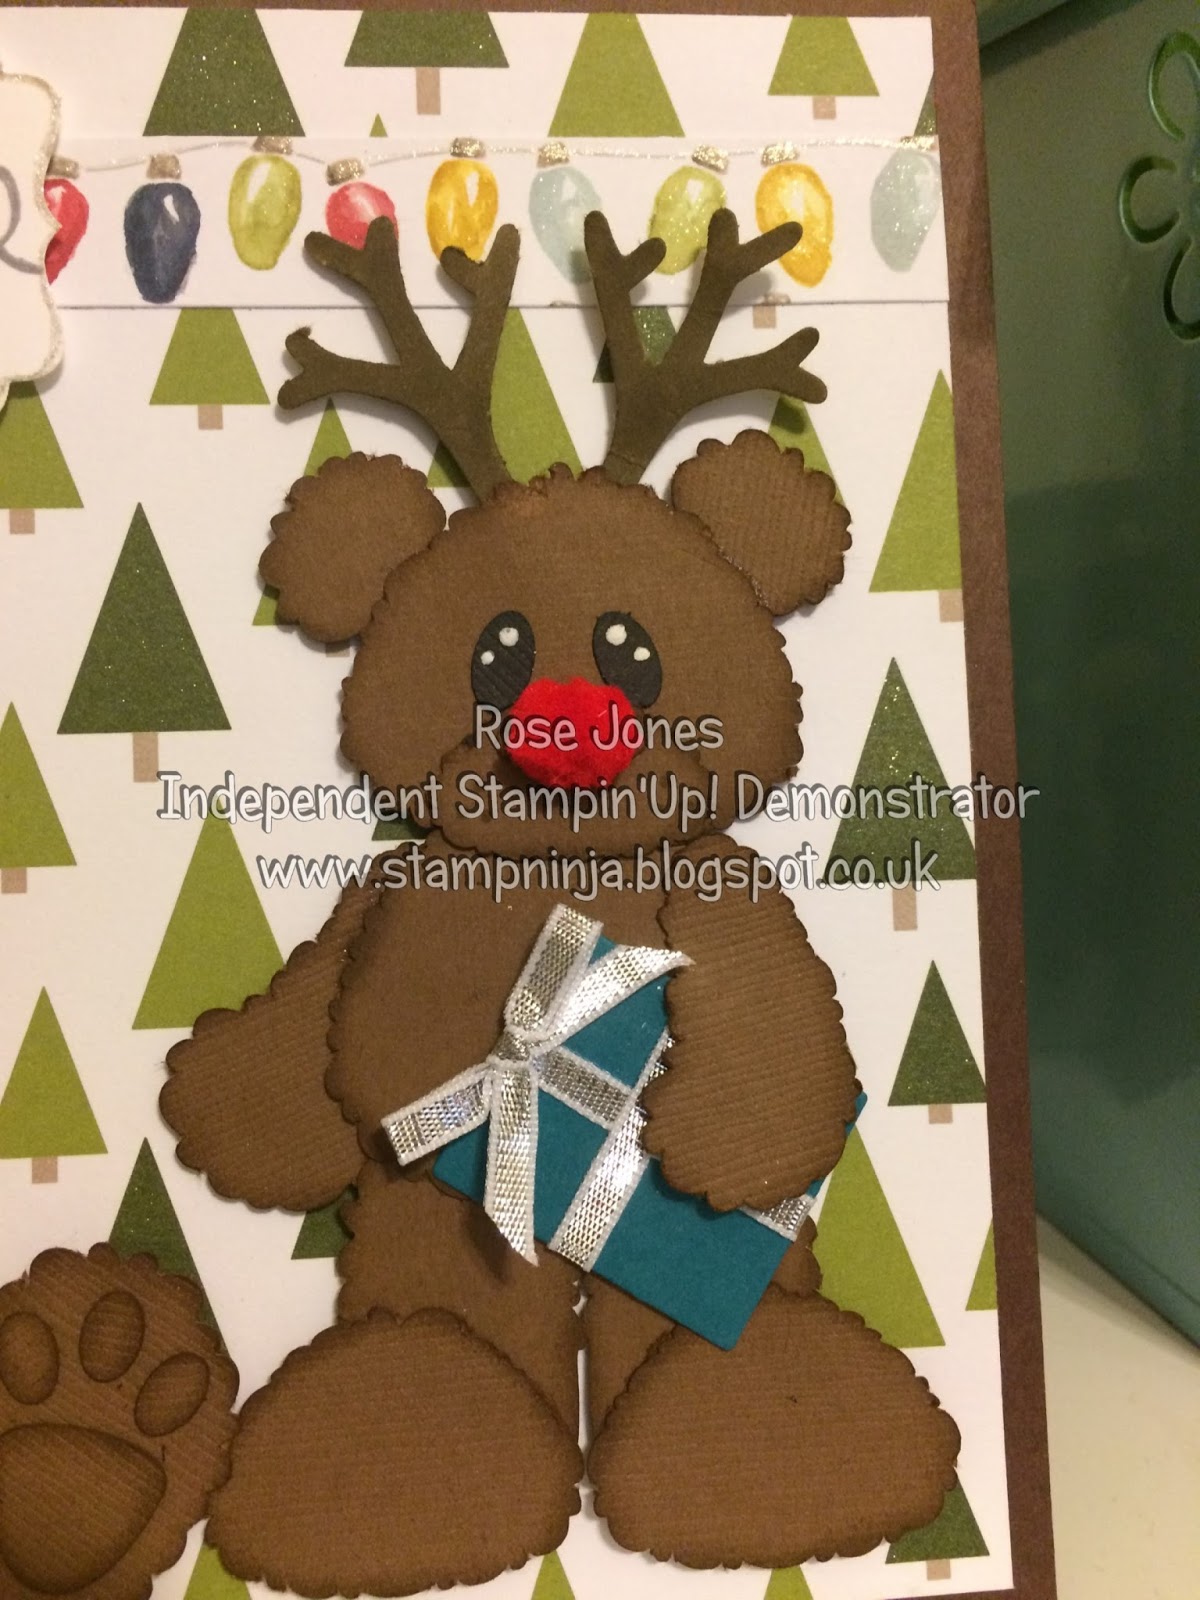
Rudolph the Red Nosed Teddy Bear!

Hello and welcome back...

I have such a cute card to share with you today, I love doing paper piecing, some I cut by hand, others I use my Silhouette Cameo. (Even better if I can do them with punches..)
These little fellows have been cut out on my Silhouette with a little punch art thrown in... Are they not adorable.....

 
The card base is Chocolate Chip card and on that I have put a piece of Merry moments Designer Series Paper. I used my glitter brush pen to add glitter to all the Mellow Moss trees (the dark ones). I also added a strip of Seasons Of Cheer DSP and added glitter to the baubles as well.

 
I sponged around the edges of each part of the teddies and then assembled them, the antlers are punched out using the Tree Builder Punch. The nose is cut from the Pom Pom Trim

 
And you know how we crafters like to use up every little scrap, well the presents that the teddies are holding are the waste from cutting out the window from the Hearth and Home Thinlits die. You get perfect little rectangles, just add some ribbon and instant present....

 
The sentiment (one of my favourites) is from the Wondrous Wreath Stamp Set, stamped in Smoky Slate and punched out with the Decorative Label Punch.

 
Such a couple of cuties....


I hope you like, thanks for stopping by....
Happy Crafting X

Thursday, 26 November 2015

Sepia Christmas

Hi there and welcome back...

Today's card has a bit of a Sepia photograph feel to it....and it features a Stamp Set that has been in the Stampin'Up! Catalogues from the very beginning.....and that is Lovely As A Tree.

 
The Stag image is from the stamp set Jolly Christmas and the Merry Christmas sentiment is from the Snow Place stamp set.

 
I masked off the bottom with some sticky notes and sponged Soft Suede over the top, then I stamped the group of trees in Soft suede on the top part of the card.

 
Then I removed the mask and stamped the large tree in Soft suede on the left of the card. I then stamped the sentiment also in soft suede and the Stag so it looks like its jumping over the sentiment.

 
Its hard to see in the photos but I added some sparkle to the trees with a glitter brush pen (something from the new Spring/Summer catalogue!) and along the horizon.

 
It's then mounted on to a Soft Suede card base.


Thanks for stopping by...
Happy Crafting X

Monday, 23 November 2015

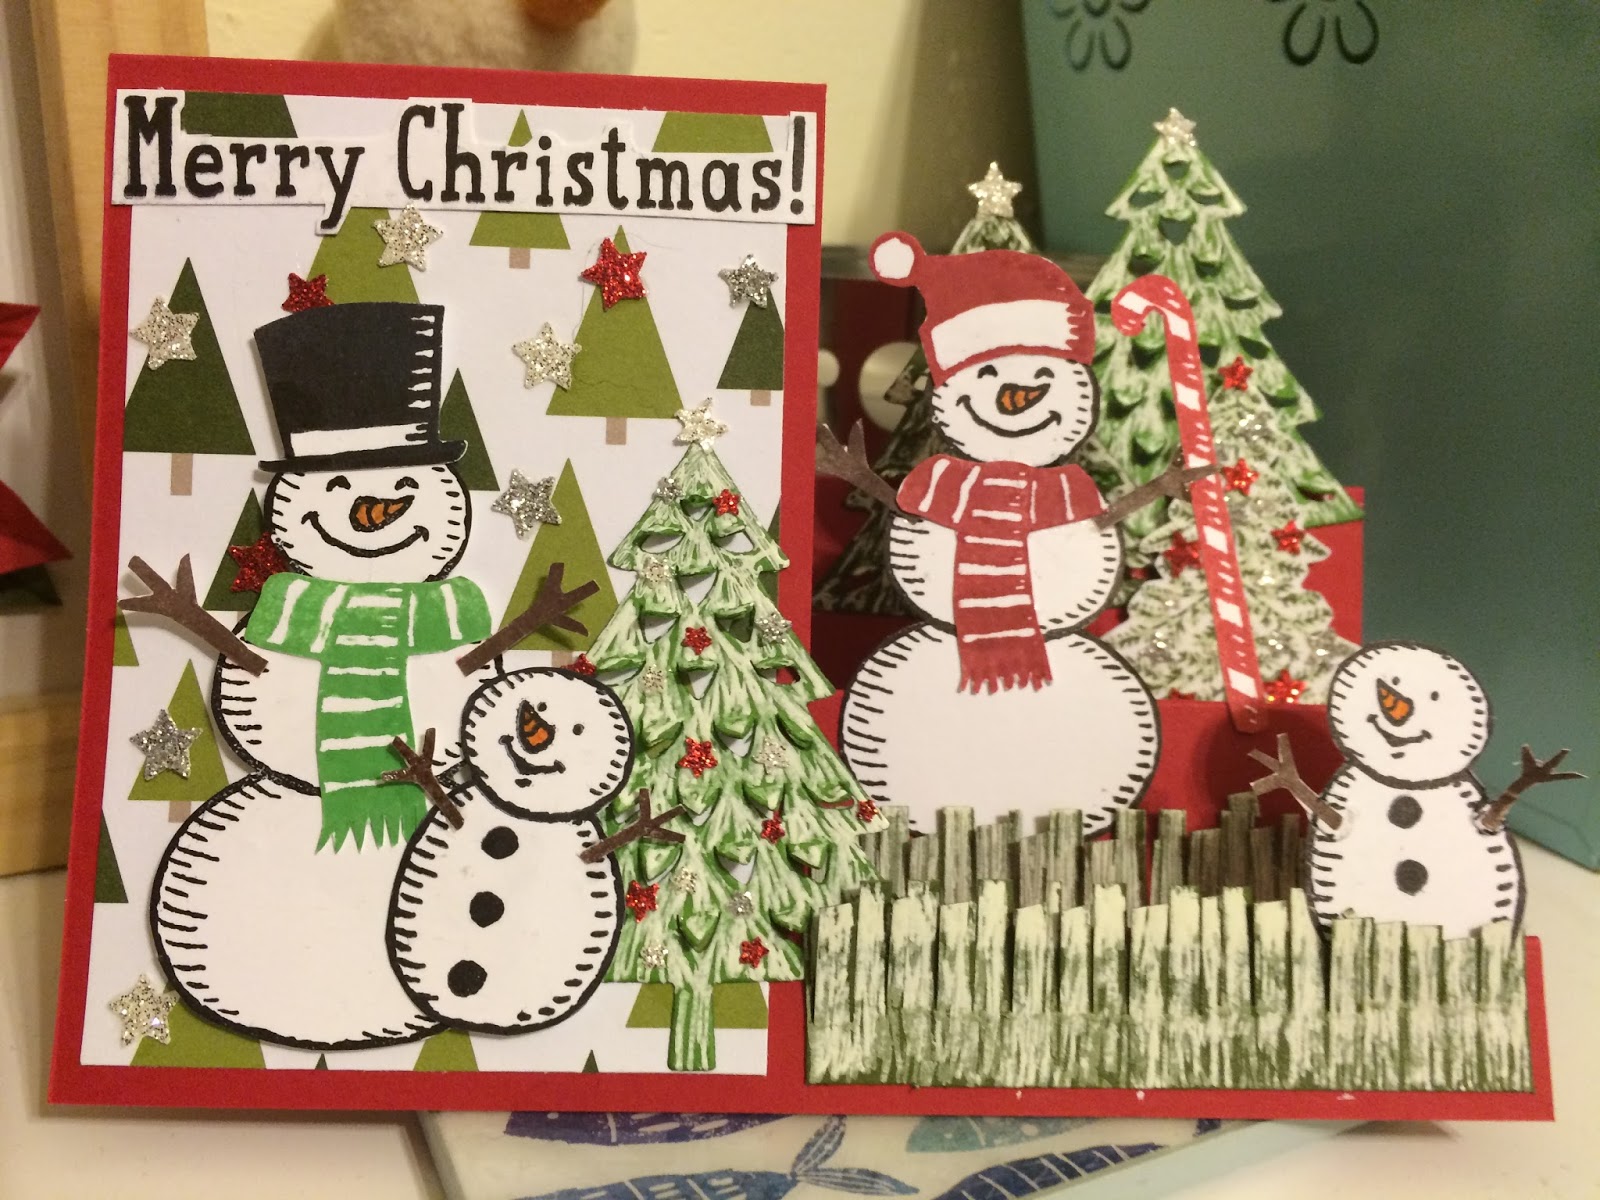
Snow Place Step Card

Hello and welcome back....

Isn't it funny how you sometimes forget things that you have done and then come across them whilst tidying, that's how this card came to be I haven't made one in ages so thought I would do a Christmas Step Card....

 
Isn't it fun, its a little like the card in a box, the right side has three steps, so you have layers of things going on.

 
I am not sure about the Merry Christmas, I wanted to show as much background as possible, so fussy cut around it, but I'm not entirely sure I like it! Do you ever do that?

 
Something else I have just realised I was going to do was put a little bird on the candy cane!  Oh well I will add it later....lol. I cut some grass using the Fringe Scissors and then added snow with the White Gel Pen.

 
I love the trees that the Perfect Pines Framelits cuts out, it gives a lovely 3D effect. I punched out lots of sparkly stars using the Confetti Stars Border Punch and the Silver, Red and Dazzling Diamonds Glimmer Paper.

 
I used the White Gel Pen to create snow on the trees and decorated some of the trees with sparkly stars.

 
There's the finished card....well nearly...add one bird and change the Merry Christmas...lol.


Hope you like, thanks for stopping by....
Happy Crafting X

Sunday, 22 November 2015

Snow Way Card in a Box

Hello and welcome back....

Today I have another card in a box to share with you this time using the Snow Place Stamp Set and matching Snow Friends framelits, along with the Peaceful Pines and matching Perfect Pines Framelits.

 
The card box base has been made exactly the same as yesterday, I made up 3 from a piece of 12" x 12" Real Red card. Then I added a piece of Soft Sky card 3 1/4" x 3 3/4" which I had put through the Big Shot in the Softly Falling Embossing folder.


Then I took some Merry Moments Designer Series Paper, (one 3 1/4" x 1 3/4" and two 1 3/4" x 1 3/4" ) and stuck them to the flaps. I made a banner using the Snow Way sentiment and added some holly which I had coloured using Stampin'Write markers and popped it on the front.

 
Then I stamped and cut out the penguin and snowmen plus accessories and stuck them in the box.
 
Next I stamped and cut out the trees from the Peaceful Pines stamp set and added them to the box. One of the dies cuts little v's in the tree which push up to give a 3D effect, really pretty.
 
And finally I added a little bird on top of the large snowman's candy cane, he's from the Santa's Gifts stamp set and some stars I punched out using the Confetti Stars border Punch.

  
And here's the finished card, so, so cute...


I hope you like, thanks for stopping by...
Happy Crafting X