Showing posts with label Pumpkins. Show all posts

Wednesday, 30 September 2015

Curvy Keepsake Wednesday

Hi there and welcome back to another Curvy Keepsake Wednesday...

We are still on the Halloween theme as its nearly October and we need to be prepared...
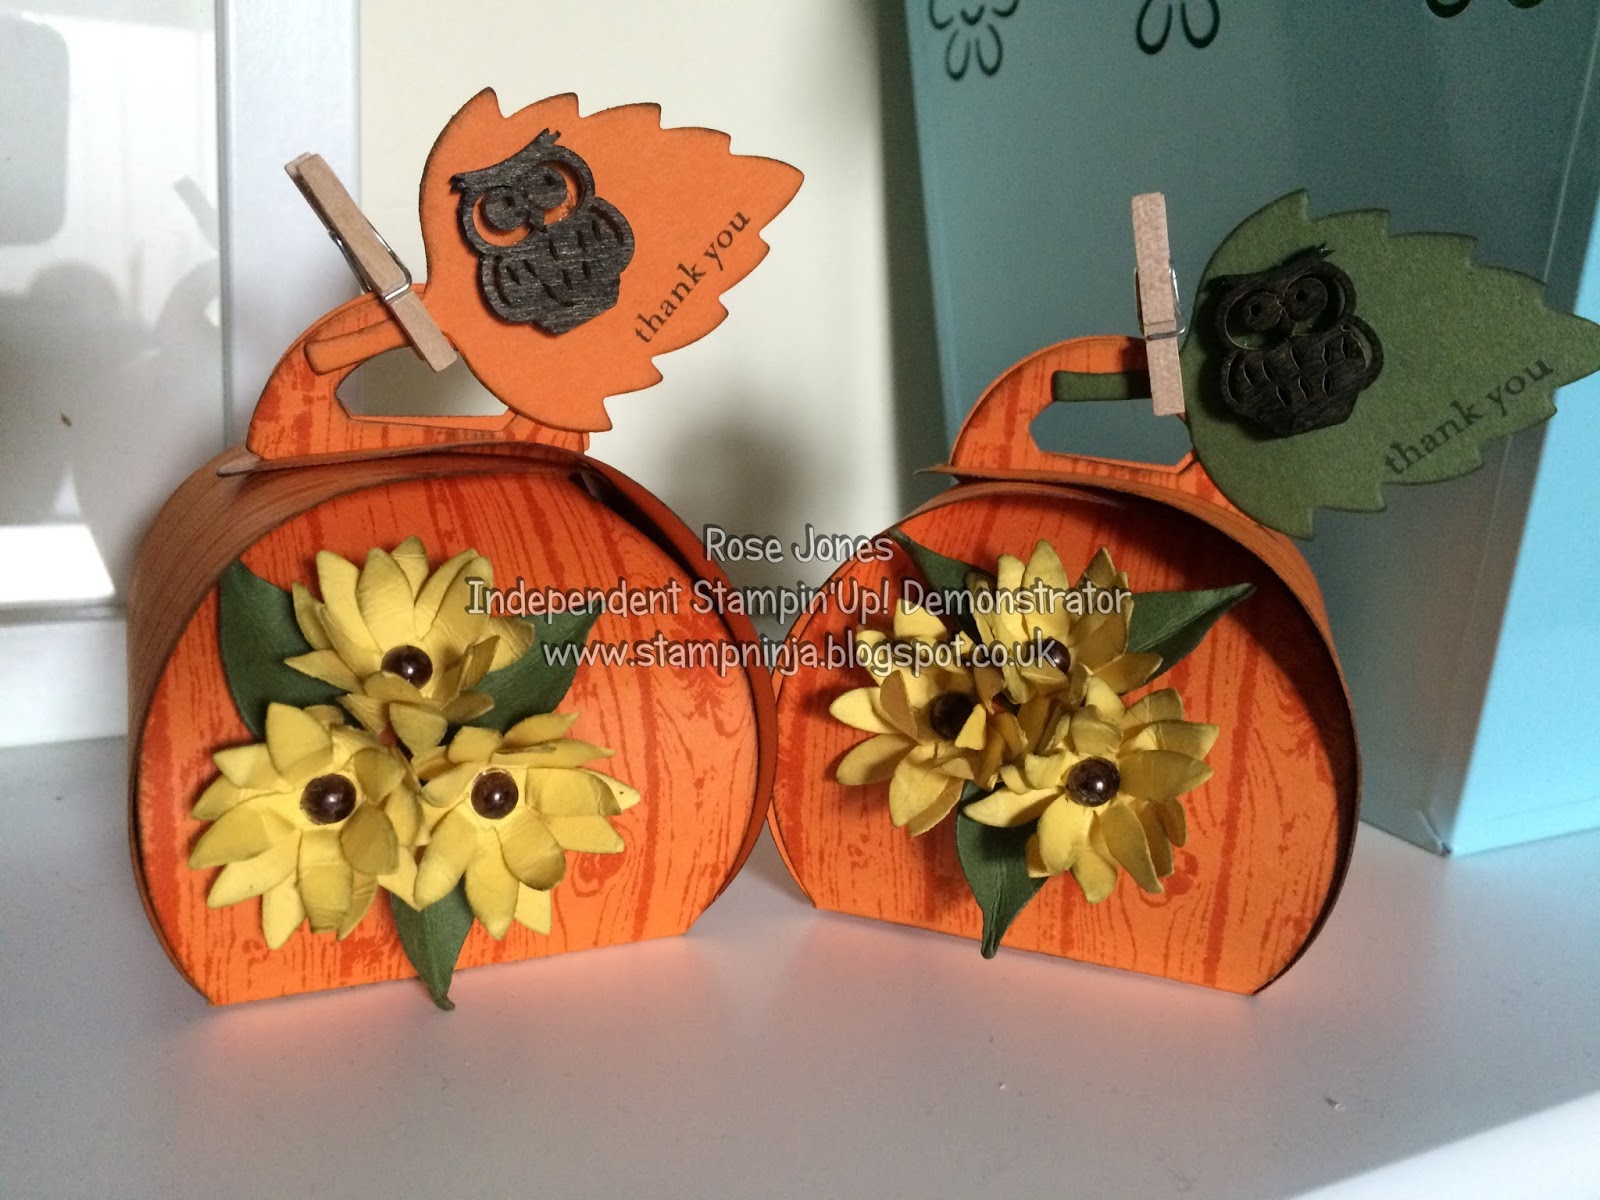
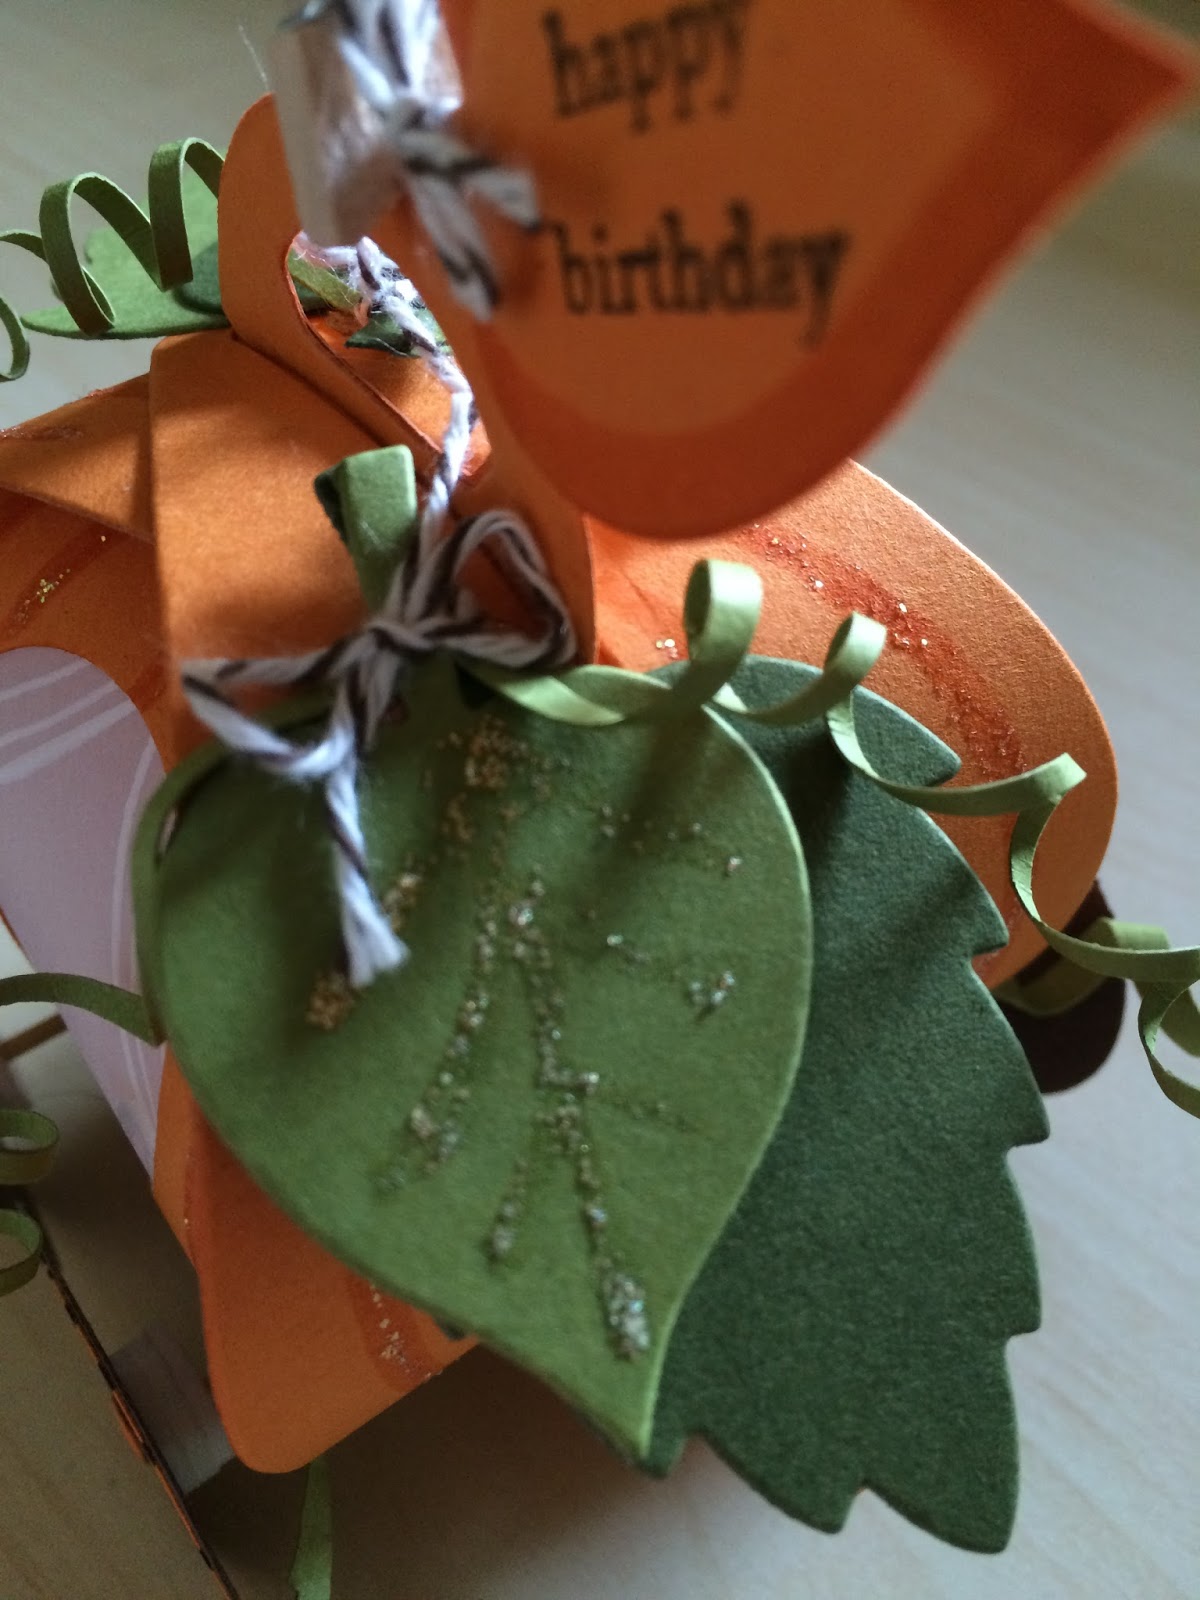
So today's Curvy Keepsake Box is a really cute (or should that be scary!!) Jack O Lantern, pumpkin carving is getting to be quite popular in the UK now as you may have seen from last years October 31st post, so I thought I would create one using the Curvy Keepsake Box....

Inside is a battery Tea Light...


You can see it a little better here where its darker..


I could only find one battery tealight even though I know I have more....but where!!!!!


Anyway back to the box.. I cut out the box as normal but before putting it together I cut out the scary face and then I stamped the box pieces with the Hardwood Stamp and Pumpkin Pie ink. Then using the 2" Circle Punch I punched out two circles of Vellum and stuck them behind the face. Then I assembled the box and popped a tea light inside.


I made a little tag using some leaves I cut out with the Leaflets Framelits and an Oval stamped first with the Hardwood Stamp and the with Happy Halloween from the And Many More Stamp Set.


I attached them all together with some Bakers Twine and attached it to the box with a tiny peg which I had coloured with a Pumpkin Pie Stampin' Write Marker.


They look so good with their little lights inside, ( must find lost Tea Lights or go buy some more!!!)


So I hope you like today's box, thanks for stopping by......
Happy Crafting X

Wednesday, 16 September 2015

Curvy Keepsake Wednesday

Hello and welcome back to another Curvy Keepsake Wednesday...

This week we have a Sunflower Pumpkin Box, inspired by Autumn (or The Fall), I have made them into Thank You Boxes but you could use them for Thanksgiving or even Birthdays...

To make I cut two of the Curvy Keepsake Box parts, I then masked of the base using post it notes and then stamped the top parts using the Hardwood Stamp and Pumpkin Pie Ink.


Then I sponged around the edges of the box with Early Espresso Ink and adhered the two parts together. I used my bone folder to round the sides of the box slightly...


Then I cut out nine of the smallest flower from the Flower Fair Framelits out of Daffodil Delight and sponged the edges lightly with Early Espresso ink. I scrunched the flowers up and then stuck three flowers together. For the leaves I used the smallest leaf from the same set and cut out three in Mossy Meadow.


For the flower centers I used my blendabilities to colour three pearls and then placed them in the center of the flowers.


Finally I stuck them to the front of the box.


For the tag I cut out a larger leaf and stamped Thank You on the edge, and added a little Wooden Owl from my stash which I coloured Early Espresso. I attached it to the box with a tiny peg.


I hope you enjoyed today's Curvy Keepsake Box, Thanks for stopping by....
Happy Crafting X

Wednesday, 9 September 2015

Curvy Keepsake Wednesday

Hello and welcome back to another Curvy Keepsake Wednesday...

This weeks Curvy Keepsake Box was kind of inspired by a trip to the Disney Store in London. We were in London to see The Lion King, which was truly amazing and of course a trip to the Disney Store is an absolute must.....lol.


Here is my Bestie posing inside the pumpkin, loved how they did this, on one side you had the pumpkin and on the other side you had the beautiful carriage below.


Anyway on to the Curvy Keepsake Box....


So here we have Cinderella's Pumpkin Carriage, I started off with a Pumpkin Pie Curvy Keepsake Box.


I used my pumpkin Pie Marker to draw curved lines on each panel, then I cut out a window on each side using the 1 1/4" circle punch. I used the Dazzling Details to go over the marker lines to add some sparkle.


Then I cut out two 1 3/4" vellum Circles and using the White Gel Pen I drew some curtains on the vellum and then stuck them to the inside over the circle windows.


For the decoration I cut out two of the smallest leaves from the Leaflets Framelits and layered them with some thin curled card, I tied them together with some Bakers Twine and stuck them to the box with some glue dots.


I made a tiny hitch using the Word Window Punch and stuck it to the underneath of the box.


I made some wheels using the 1" circle and the 1 1/4" circle layered them and added some detail. Then I attached them to some cocktail sticks with dimensionals and then to the bottom of the box. I added extra pieces of thin curled card to the bottom of the box to finish it off.


Finally I made a tiny leaf tag using Teeny Tiny Sentiments and a leaf from the Leaflets Framelits, held on with a tiny peg.


I hope you like,thanks for stopping by....
Happy Creating X