Showing posts with label Teddy Bears. Show all posts

Wednesday, 6 January 2016

Curvy Keepsake Wednesday

Hello and welcome back to another Curvy Keepsake Wednesday...

This weeks box is all about the Bear...Cute little Teddy Bears..


Sorry about the photos but its very sunny today (not complaining) and I couldn't get a decent photo! I love Teddy Bears so much so that I have a vast collection of furry friends so I thought I would create a Teddy Curvy Keepsake Box.


I really love how you can change one thing and it gives you a totally different look, for example the eyes, on the boy bears I used just black with a white gel pen highlight, on the girl bear I used white and black and I even gave her some eyelashes lol.

 
The Teddy is really simple, it's just the basic box which I have sponged around the edges. I used the large oval punch for the muzzle and trimmed it down to make it smaller and added the nose which is waste from cutting out the Curvy Keepsake Box!
 
The eyes have been cut freehand and the mouth has been drawn on, tip if you are not good at drawing mouths then punch out the small heart from the Itty Bitty Accents Punch Pack and turn it upside down and draw around the bottom part of the heart.. perfect mouth.
 
The ears are 1" circles, score a line towards the bottom of the circle and fold over, snip the smaller portion and bend to shape, stick to box with Tombow glue, it gives you wiggle room.
 
I used my Chocolate Chip Stampin' write Marker to add some detail to the face and a white gel pen to add some highlights to the eyes and nose.
 
They are just so cute, perfect for children's parties and they don't have to be brown.....

I have listed all the products used below, just click on a picture to go to my on-line store to order, and remember during Sale-A Bration for every £45 you spend you get to choose an item for FREE from the Sale-A-Bration Brochure. AND if you use the Hostess code at the top of this blog you will receive more freebies from me.


Hope you feel inspired to create something with the Curvy Keepsake Box Thinlits,
Thanks for stopping by....
Happy Crafting X

Saturday, 19 December 2015

Cute Teddy Calendar

Hi there and welcome back...

I love making novelty calendars, this one is one of my favourites, its a cute hanging Teddy Calendar. They are just so much fun to make.

 
Isn't she just the cutest, she's a paper piecing teddy which I cut out on my Silhouette Cameo form Pink Pirouette card, She has been sponged around each piece with Rose Red ink before assembly.

 
Her little bow has been made using the Heart from the Itty Bitty Punch Pack and the Flower from the Tree Builder Punch. Then I used the White Gel Pen to do some faux stitching. Her nose has been coloured with the Rose Red Marker Pen and then covered in Crystal Effects to make it shiny.

 
I used the Rose Red Marker pen to do faux stitching around all the pieces of the teddy and added some features to the face. Then I created a banner with a piece of Rose Red card, I used the Curvy Corner Trio Punch to shape the corners and did some faux stitching with  a White Gel Pen. Then I stuck the calendar to the banner.

 
Lastly I added some Thick Bakers Twine to hand the Teddy up with....

All products used are listed below, for easy ordering please just click on a product to go to my on-line shop.....


I hope you are enjoying all the calendars, thanks for stopping by...
Happy Crafting X

Tuesday, 15 December 2015

Easel Card Calendar

Hello and welcome back....

Today's Calendar is an Easel Card Calendar complete with Post-It notes. I love this one I have one on my desk and each year I just pop a new calendar on it....lol.
This one is for my daughter, hence all the pinkness...


This is really an Easel card with Post-It notes to hold the card open. I started with half an A4 piece of card cut lengthways as before. Then score it at 14.9cm and 7.5cm, which give you the basic easel. I used Melon Mambo card for the base.


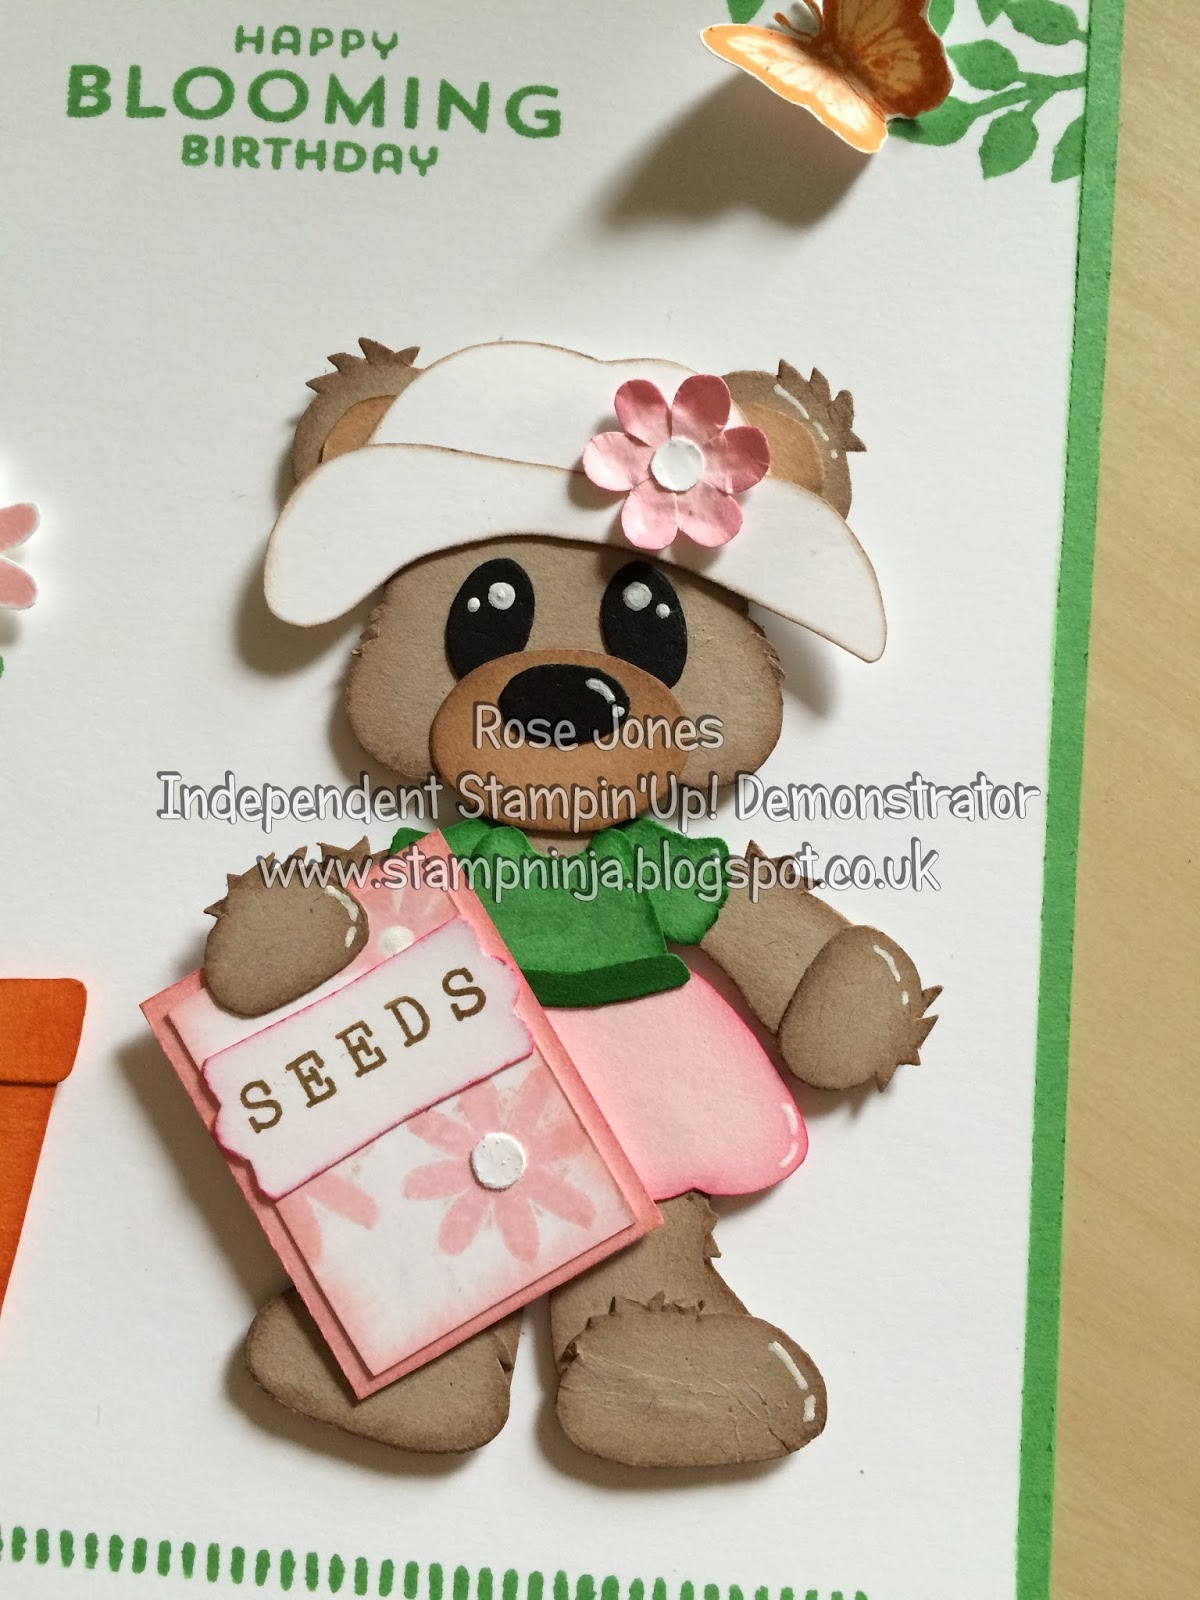
Again with this type of calendar you need to choose something that you will love looking at all year, hence the cute pink teddy, I love the way she is holding the calendar. She is a paper piecing teddy and each piece has been sponged before assembly. The mat behind the teddy is Pink Pirouette with a layer of Melon Mambo behind that. I used the Curvy Corner Trio Punch to shape all the corners, even on the Post-It notes. The background is a mixture of Gorgeous Grunge and the Perpetual Birthday Calendar stamp sets.


The sentiment is from An Open Heart, stamped in Melon Mambo, and a little Gorgeous Grunge and some tiny pearls for some prettiness........


This calendar also folds flat for posting, but due to the Post-It notes its not normal postage. Luckily she is home from Uni so I can give it her to take back with her...


She will love it...
 
I have listed all the products used below so if you need anything just click on a product to go directly to my on-line shop, its open 24/7.


Thanks for stopping by, pop back Thursday for calendar number Three......
Happy Crafting X

Friday, 27 November 2015

Rudolph the Red Nosed Teddy Bear!

Hello and welcome back...

I have such a cute card to share with you today, I love doing paper piecing, some I cut by hand, others I use my Silhouette Cameo. (Even better if I can do them with punches..)
These little fellows have been cut out on my Silhouette with a little punch art thrown in... Are they not adorable.....

 
The card base is Chocolate Chip card and on that I have put a piece of Merry moments Designer Series Paper. I used my glitter brush pen to add glitter to all the Mellow Moss trees (the dark ones). I also added a strip of Seasons Of Cheer DSP and added glitter to the baubles as well.

 
I sponged around the edges of each part of the teddies and then assembled them, the antlers are punched out using the Tree Builder Punch. The nose is cut from the Pom Pom Trim

 
And you know how we crafters like to use up every little scrap, well the presents that the teddies are holding are the waste from cutting out the window from the Hearth and Home Thinlits die. You get perfect little rectangles, just add some ribbon and instant present....

 
The sentiment (one of my favourites) is from the Wondrous Wreath Stamp Set, stamped in Smoky Slate and punched out with the Decorative Label Punch.

 
Such a couple of cuties....


I hope you like, thanks for stopping by....
Happy Crafting X

Friday, 12 June 2015

Happy Blooming Birthday Hand Bag

Hey there peeps and welcome back,

Today as promised is the final piece to the Happy Blooming Birthday set...
The Hand Bag for the cards to go in....


Its quite a big bag as it has to take 6" x 7" cards which is just short of A5. I used Cucumber Crush Card Stock to make the bag then added a piece of DSP around the middle so its quite a sturdy bag.


I then put another piece of card top and bottom to hide the joins, embellishing it with faux stitching and scallop edges.


I added a cute little pocket to the front which has been stamped with the Flower Patch stamp set.

And a cute teddy, not sure if I am going to leave him poking out of the pocket or if I will make him into a bag charm hanging from the handles!...


 Its quite roomy inside, plenty of room for 4 cards and 4 Envelopes, plus more...


 And here is the finished set, I am loving the way it has turned out...


Just to give an idea of size.....


So I hope you have enjoyed my little Gardening Teddies set, thanks for stopping by...
Happy Crafting X

Thursday, 11 June 2015

Happy Blooming Birthday (part 4)

Well hello peeps and welcome back....

Yesterday was really hot, but not so hot here today, the garden isn't calling to me so its the perfect weather to stay in and craft lol....

So I have the last card in this Happy Blooming Birthday series of Gardening Teddy Bears and she is adorable.....


Here she is with her little pot of pink flowers and her packet of seeds.....


The top of this card looked a little sparse so I stamped some green branches from the stamp set Flower Patch and added a little butterfly from the stamp set Papillon Potpourri.


To stamp the word seeds I used the Alphabet Rotary Stamp, its a bit like those date stamps where you can create your own date, well with this you can create your own words and phrases...well cool...


Its funny I was happy with this card but felt it needed just a little bit more color so I added the two butterflies..perfect...lol


And here we have the finished set...just need to make some more envelopes and a bag for them to go in... check back tomorrow to see what I have made.


Thanks for stopping by...
Happy Crafting X

Wednesday, 10 June 2015

Happy Blooming Birthday (part 3)

Hey there and welcome back....

Today I have the third in this series of cards and he is too cute, I think he must be the youngest of the bunch sitting in between the plant pots up to mischief no doubt...lol


 And he is adorable....

 More pretty flowers from the Flower Patch set, they look a little like sunflowers...


And who would have thought I would get so much use out of Bohemian Borders...lol


Such a beautiful card if I do say so myself......


And what a lovely set....Three down one to go...oh and a bag.... pop back tomorrow for the final card...


Happy Crafting X

Tuesday, 9 June 2015

Happy Blooming Birthday (part 2)

Hey there peeps, welcome back....

I have instalment number two on the Happy Blooming Birthday Teddy Theme...
and she is a real cutie....


I used the same colours as yesterday, although for the plant pots I changed it to Pumpkin Pie, as it looked more like terracotta..... doesn't she look adorable with her little trowel and her floppy hat...                                                                                                                                                                                                                                               


Again I used the same stamp set Flower Patch for the flower and sentiment and Bohemian Borders for the grass effect at the bottom..


What I love about this set is that not only is it a Two Step Stamping Set so it gives you numerous combinations you can stamp but being Photopolymer it is so easy to line up the images so you get perfect stamping every time.....


And of course you have to have a matching envelope, I am so loving this New Envelope paper, I wish I had ordered it in the Neutrals as well....


So here are the two finished cards, I am thinking that maybe I should make a bag for them to go in once I have made the other two.... what do you think? 
mmmmm... I think that's a yes....lol....


Thanks for stopping by... Please leave a comment I would love to hear from you...

Happy Crafting X

Sunday, 24 May 2015

Large Handbag

Hi there and welcome back,

Continuing with the Handbag theme I have made a larger Handbag, It's a great size if you want to give a larger gift..... 


I also made a Handbag Charm...a cute little teddy. you could personalise it as I have done...


To make the larger bag you have to join two pieces of card together to get the length you need, so I thought I would make a feature out of the join by putting a piece of card over it and adding faux stitching.


I added some of the Venetian Crochet Trim to hold on my bag charm...


And here are the three bags together....
If you would like to make a larger bag check out this video by Caroline Hallett HERE


Well I hope you enjoyed, thanks for stopping by...
Happy Crafting x